Early in my technical writing career, I noticed a troubling pattern. While documentation teams passed around Word documents through email attachments, engineering teams collaborated seamlessly in GitHub. Their changes were traceable, reviews were structured, and history was preserved automatically. Meanwhile, our documentation existed in isolated silos—fragmented across Google Docs, wikis, and shared drives, with no clear source of truth.
This guide shows technical writers how to use GitHub for documentation using GitHub Desktop—without touching the command line.
The divide wasn't just technical. It was cultural. Documentation felt like an afterthought, disconnected from the products we were describing.
Coming from a developer background, I could see what writers were missing. I'd experienced firsthand how version control transformed engineering collaboration—how it enabled teams to move fast without breaking things, to experiment without fear, to scale without chaos. I knew these same principles could revolutionize documentation.
But every time I suggested moving to GitHub, I hit the same wall: pushback. "We're writers, not developers." "Git is too complicated." "We have more urgent priorities." Documentation was always the afterthought, the nice-to-have, the thing that could wait.
Then AI changed everything. Suddenly, documentation couldn't wait anymore. Products were shipping faster, features were multiplying, and documentation debt was becoming a crisis. Teams that could collaborate at engineering speed had a massive advantage.
That's when the message became impossible to ignore: the future of technical documentation was version-controlled, collaborative, and deeply integrated with engineering workflows. Not because it was trendy, but because it was the only way to keep up.
Yet GitHub still remained intimidating. The command line loomed as an impenetrable barrier—a black box of cryptic commands where one wrong keystroke could delete everything. That fear alone was enough to keep writers locked into legacy tools that couldn't scale.
That's when I had a realization:
You don't need to be a developer to use GitHub effectively for documentation.
As technical writers, we're uniquely positioned to bridge content and engineering—without writing a single Git command. This tutorial will show you how I helped my team make that transition, and how you can do the same.
You'll learn how to:
- Set up a documentation repository that scales with your team
- Use GitHub confidently through visual tools, no command line required
- Collaborate with developers inside their existing workflows
- Maintain versioned, reviewable documentation that evolves with your product
- Build documentation workflows that feel natural for writers
Let's start where it matters most: creating a proper home for your documentation.
Why documentation needs its own repository #
Documentation often becomes an afterthought, scattered across wikis, shared drives, and email threads. This creates three fundamental problems that a dedicated repository solves:
-
Ownership
Clear responsibility for documentation content and maintenance -
Visibility
Single source of truth for all documentation
Real-time updates and changes -
Change tracking
Complete history of every edit
Who made changes and why
Easy rollback to previous versions
A documentation repository gives your content the same care and structure as your codebase. The best part? You can set this up entirely through GitHub's web interface—no terminal required.
Set up your documentation repository #
Before diving into writing, let's create a dedicated space for your documentation. A well-structured repository is the foundation of effective documentation management. Think of it as creating a well-organized filing cabinet where every document has its place, making it easy to find, update, and maintain content over time.
Create your repository on GitHub #
- Sign in to your GitHub account at github.com
- Click the + icon in the top-right corner and select New repository
- Configure your repository settings:
- Repository name: Choose something clear and descriptive, like
product-docsorapi-documentation - Description: Add a brief explanation of what documentation this repository contains
- Visibility: Select Private (the default) to keep your docs internal, or Public if you're building open documentation
- Repository name: Choose something clear and descriptive, like
- Under Initialize this repository with:
- ✓ Check Add a README file (this creates your first documentation file)
- ✓ Add a
.gitignoretemplate—select Documentation if available - ✓ Choose a license—MIT or Creative Commons are common for documentation
- Click Create repository
Congratulations. You now have a canonical source of truth for your documentation. GitHub automatically navigates you to your repository homepage, where you can see your newly created README file.
This is more significant than it might seem. You've just given your documentation the same structural foundation that engineers use for code—a foundation that enables version control, collaboration, and scalability.
Understand GitHub's web interface #
Before introducing local workflows, I made sure my team understood GitHub as a documentation workspace, not a developer playground.
Your repository homepage is where everything lives. From here, you can:
- Browse all documentation files in their folder structure
- Read rendered Markdown (GitHub displays
.mdfiles beautifully formatted) - Inspect complete change history for any file
- Manage issues, discussions, and pull requests
- Track who's working on what
For quick edits—fixing a typo, updating a date, clarifying a sentence—GitHub's web editor is perfectly sufficient. Click any file, then click the pencil icon to edit directly in your browser.
Pause check: If you stop reading here, you already know enough to safely read, edit, and track documentation in GitHub.
However, once your documentation grows beyond a handful of files, you'll want to work locally. That's where many writers hit a common barrier: the command line. The thought of memorizing Git commands and the fear of making irreversible mistakes can be paralyzing.
GitHub Desktop: Your visual documentation workstation #
GitHub Desktop removes this barrier entirely by providing a visual interface that makes version control accessible to everyone. No need to remember commands or worry about making mistakes—everything happens through clear, visual actions.
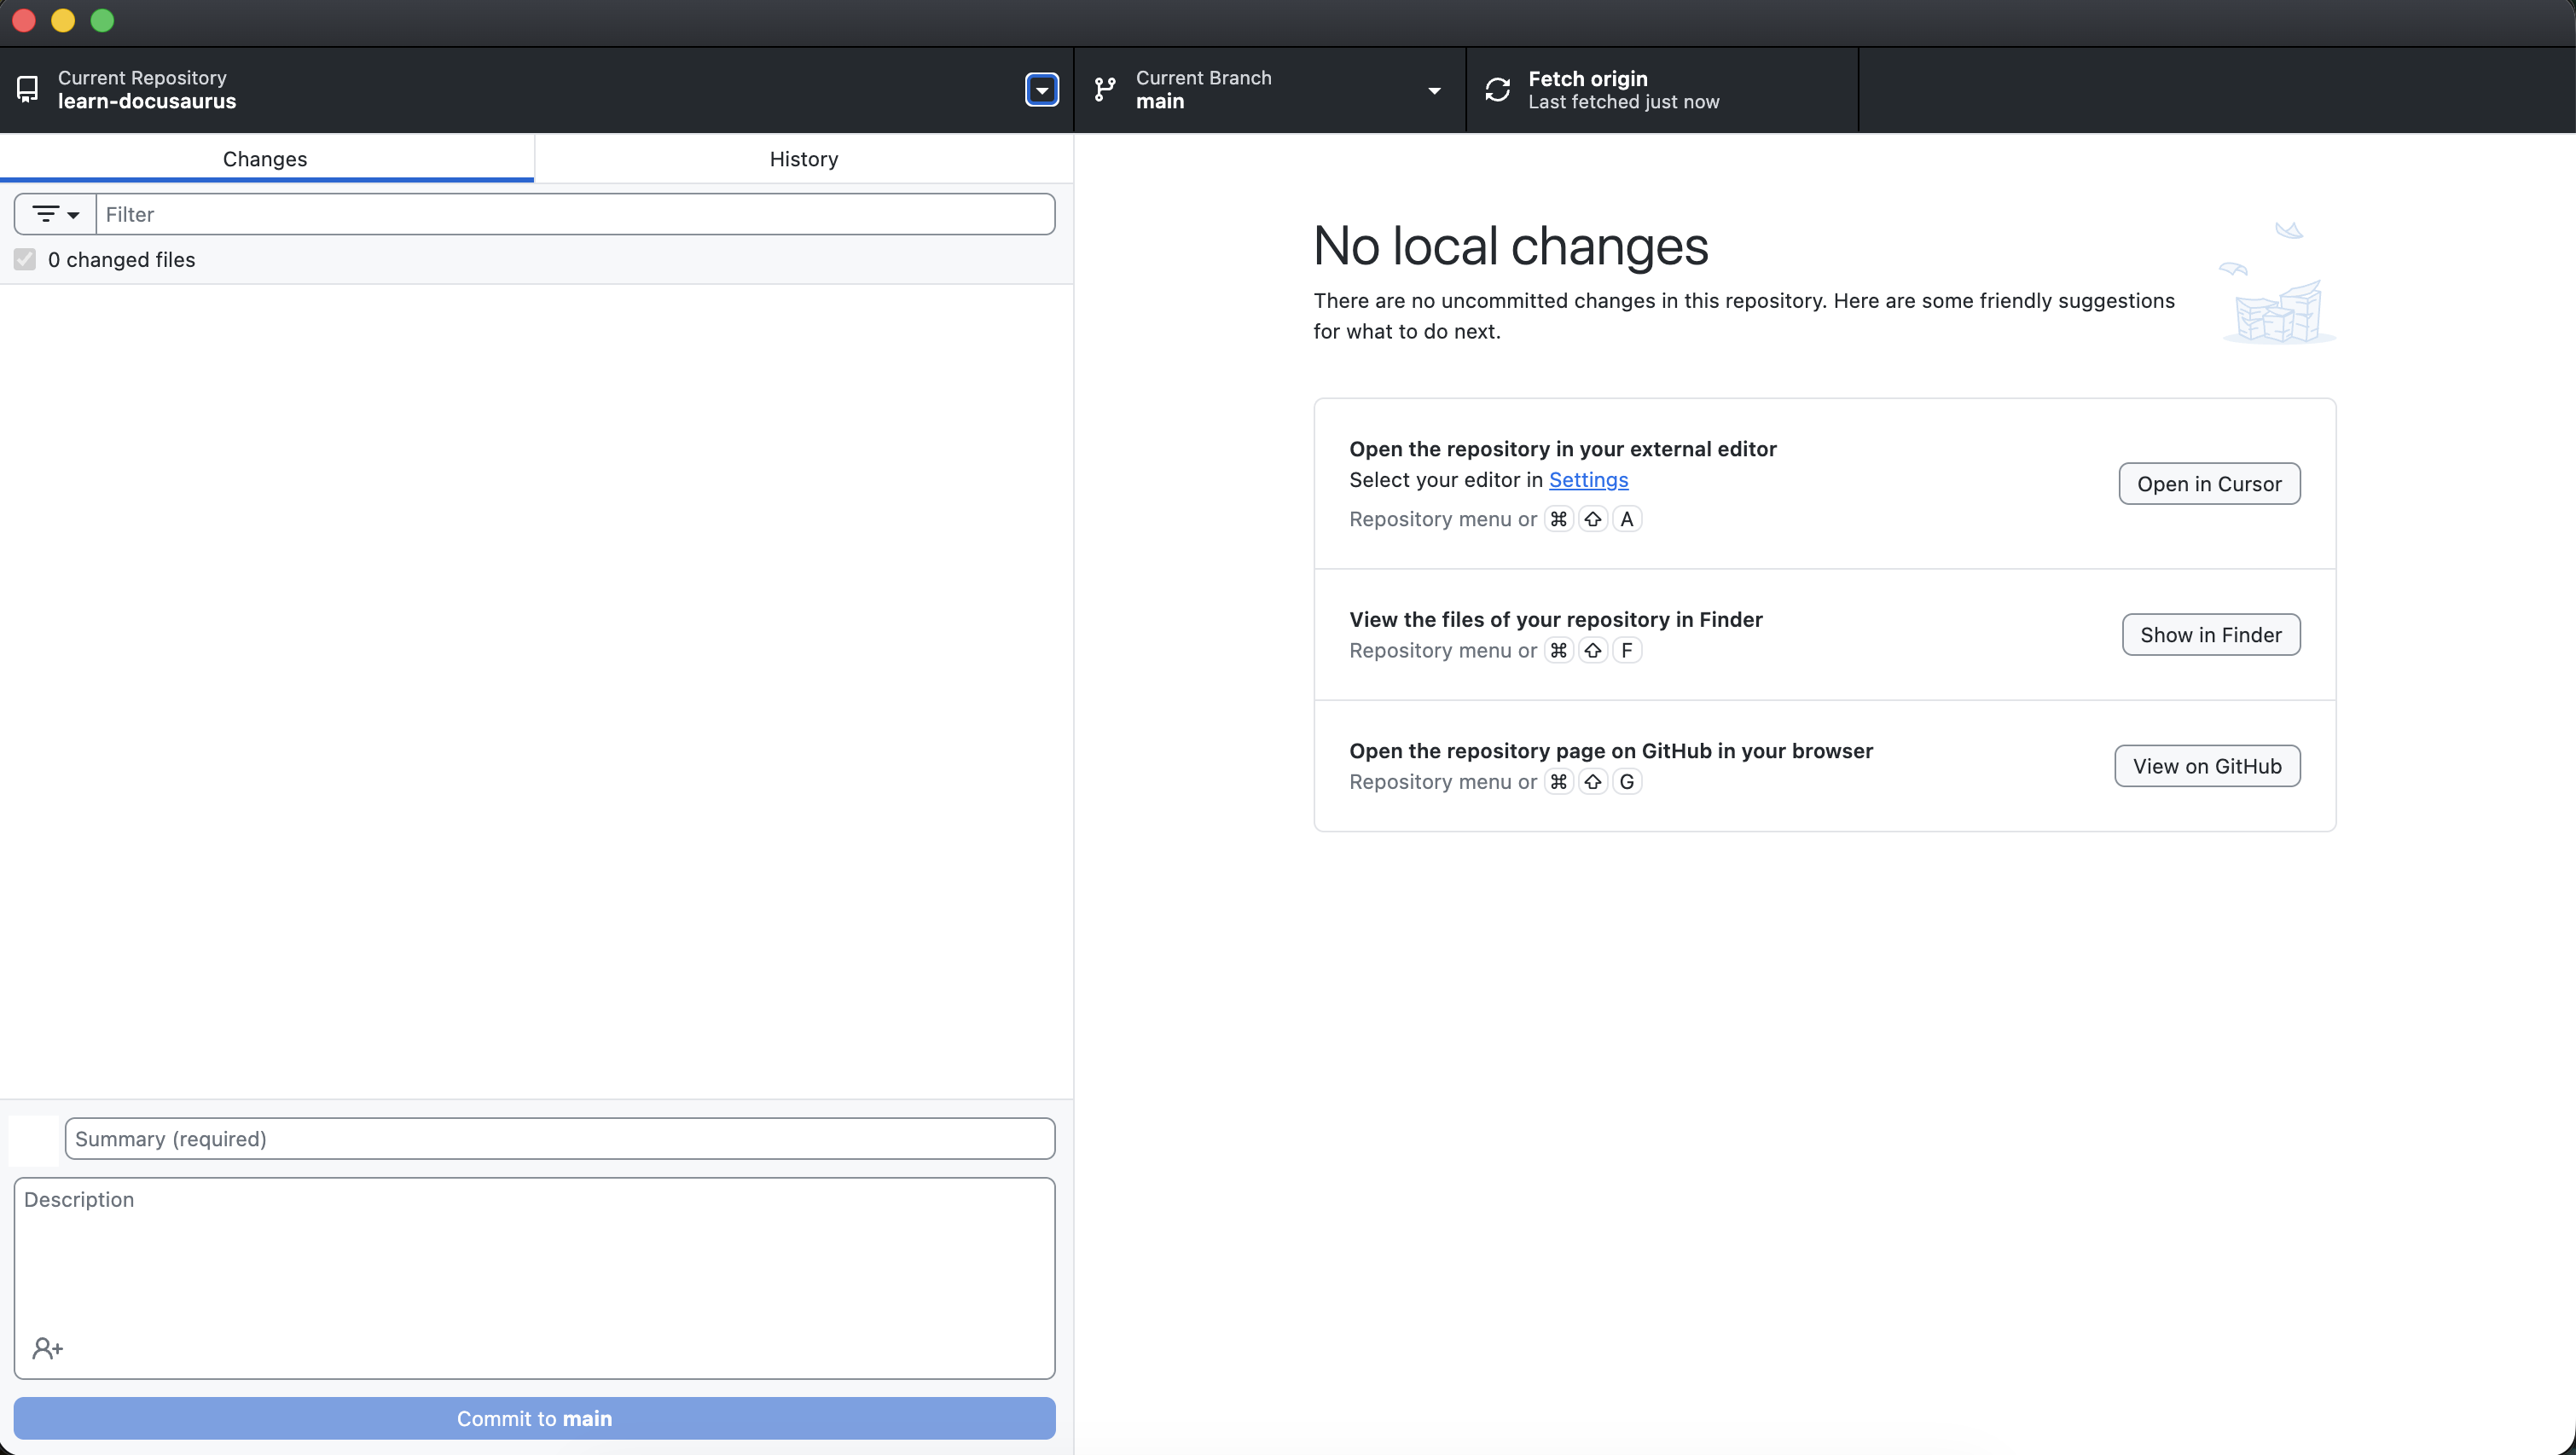
GitHub Desktop provides a visual interface for version control, making it accessible without command line knowledge
Here's what changed for my team when we adopted GitHub Desktop:
-
Visual interface
- No command line required
- Intuitive, familiar controls
- Clear visual feedback
-
Confidence through clarity
- See exactly what changed before sharing
- Write meaningful commit messages
- Track complete documentation history
- Undo changes easily if needed
-
Adoption made simple
- No Git commands to memorize
No terminal windows
Just point, click, and write
- No Git commands to memorize
This visual approach was the turning point that made version control accessible to our entire writing team.
Install GitHub Desktop #
- Download GitHub Desktop from desktop.github.com
- Install and launch the application
- Sign in with your GitHub account
That's it. No configuration, no setup scripts, no PATH variables to worry about.
Clone your repository locally #
"Cloning" means creating a local copy of your repository on your computer. You'll edit files locally, then sync your changes back to GitHub when you're ready.
Here's how:
- In GitHub Desktop, select File > Clone repository
- Find your documentation repository in the list
- Choose a local folder where you want to store your documentation files (I recommend creating a dedicated
Documentationfolder) - Click Clone
GitHub Desktop downloads your repository and sets up the connection automatically. Your documentation now exists in two places: locally on your machine (where you'll edit) and remotely on GitHub (where everyone collaborates).
The magic is that GitHub Desktop keeps them in sync—but only when you explicitly tell it to. You're always in control.
Behind the scenes: GitHub Desktop runs all Git commands for you automatically. You never interact with Git directly, but you get all the benefits.
Now let's make your first documentation update.
Make your first documentation change #
The fastest way to build confidence is to make a small, visible change and see the entire workflow in action.
Let's edit the README file you created earlier.
Edit your documentation #
- Navigate to your local repository folder (the one you selected during cloning)
- Open
README.mdin any text editor—Notepad, VS Code, Typora, whatever you prefer - Make a change. Add a new section, update the description, or just add a new line of text
- Save the file
Now return to GitHub Desktop. You'll immediately see something powerful: GitHub Desktop detected your change automatically and shows you exactly what changed.
Review your changes #
In GitHub Desktop's main window, you'll see:
- The file you modified listed on the left
- A visual diff showing what you added (in green) and removed (in red)
- A summary field at the bottom
This visual diff is your safety net. Before publishing anything, you can see exactly what's about to change. No surprises. No accidental deletions.
Commit your changes #
"Committing" means packaging your changes with a description and saving them to your local repository history. Think of it as creating a checkpoint you can always return to.
- In the summary field (bottom-left), write a brief description of what you changed, like "Updated README with repository purpose"
- Optionally, add more details in the description field below
- Click Commit to main
Your change is now saved in your local repository history. But it's still only on your computer. The final step is sharing it with your team.
Push your changes to GitHub #
- Click the Push origin button at the top of GitHub Desktop
That's it. Your changes are now live on GitHub, visible to your entire team, and permanently recorded in the repository history.
Success: You just completed the full documentation lifecycle—edit, review, commit, publish—without touching the command line.
This loop becomes the foundation of all documentation work. Edit locally, review your changes, commit with a clear message, push to GitHub. Simple, visual, and powerful.
Create new documentation files #
Now that you understand the basic workflow, let's create a new documentation file from scratch.
Add new file #
- In your local repository folder, create a new file. Let's say
getting-started.md - Open it in your text editor and add some content:
# Getting Started

Welcome to our product! This guide will help you get up and running quickly.

## Prerequisites

Before you begin, make sure you have:

- A valid account
- Access to the admin portal
- Basic familiarity with APIs

## Quick start

Follow these steps to set up your environment...
- Save the file
- Return to GitHub Desktop
You'll see your new file listed as an "untracked" change—it exists in your local folder but isn't yet part of the repository.
Commit and push the new file #
Follow the same workflow:
- Review the changes (you'll see the entire file contents highlighted in green, since it's new)
- Write a commit message: "Add getting started guide"
- Click Commit to main
- Click Push origin
Your new documentation file is now part of the repository, with a clear record of when it was created and why.
Organize your documentation structure #
As your documentation grows, you'll want to organize files into folders. The structure you create locally is exactly what appears in GitHub.
A typical documentation repository might look like:
product-docs/
├── README.md
├── getting-started.md
├── guides/
│   ├── installation.md
│   ├── configuration.md
│   └── troubleshooting.md
├── api/
│   ├── authentication.md
│   ├── endpoints.md
│   └── examples.md
└── images/
    └── screenshots/
Create folders directly in your local repository folder, move files around, and GitHub Desktop will track everything. When you commit and push, the entire structure syncs to GitHub.
Collaborate with your team #
GitHub transforms documentation from a solo activity into a team sport. Here's how to collaborate effectively:
Review changes before they go live #
For significant changes, use pull requests (PRs) to maintain quality:
-
What it is
A way to propose and review changes before they're published
Team discussion happens in context of the changes -
Why it matters
Catches errors before they reach readers
Maintains consistency across documentation
Builds shared ownership of content
Track documentation work #
GitHub's issue tracker helps manage documentation as a team:
-
Planning
Track documentation gaps and requests
Coordinate updates and releases
Discuss structural changes -
Workflow
Assign tasks to team members
Label and categorize work
Connect issues to pull requests
This system gives documentation the same visibility and structure as engineering work, making it easier to manage at scale.
The GitHub documentation workflow for technical writers #
Documentation in GitHub follows a simple but powerful workflow that mirrors how developers work with code. Here's the complete process:
-
Edit files locally
- Work in your preferred text editor
- See changes in real-time
- No internet connection needed
-
Review changes
- See exactly what you've modified
- Catch mistakes before they're shared
- Write clear commit messages
-
Commit with intent
- Group related changes together
- Document the 'why' behind changes
- Create logical checkpoints
-
Push when ready
- Share your work with the team
- Keep history clean and organized
- Enable collaboration
This workflow gives you the flexibility to work at your own pace while maintaining a clear history of changes.
Build confidence through practice #
The workflow I've shown you is deceptively simple:
- Edit documentation files locally
- Review your changes in GitHub Desktop
- Commit with a clear message
- Push to GitHub
But this simplicity is powerful. It's the same workflow engineers use for code, adapted to a visual interface that respects how writers work.
Start small. Make a few edits. Create a new file. See your changes appear in GitHub. Watch the history build up. Each cycle builds confidence.
Soon, you'll find yourself thinking in terms of versioned, reviewable, collaborative documentation—the same mindset that makes engineering teams so effective.
Final thoughts #
When I first introduced GitHub to my documentation team, the skepticism was real. Writers who'd spent years perfecting their craft in Word and Google Docs saw this as yet another tool imposed by engineering. Another barrier. Another reason documentation would always be second-class.
But something changed after their first successful push. I watched writers who'd been terrified of Git start tracking their own changes, reviewing each other's work, and building documentation that lived and breathed with the product. The transformation wasn't about learning Git commands—it was about gaining the same collaborative superpowers that made engineering teams effective.
GitHub transforms documentation from static files scattered across tools into a living system where:
- Changes are tracked and reversible: Every edit is recorded with context. Nothing is ever truly lost.
- Collaboration is structured and transparent: Reviews happen in one place. Discussions are preserved. Everyone can see what's changing and why.
- Documentation evolves with the product: Because documentation lives alongside code, it naturally stays in sync with product development.
The barrier was never technical. It was psychological. The command line made GitHub feel inaccessible to writers. GitHub Desktop removes that barrier entirely.
You don't need a developer background to use GitHub effectively. You just need the right tools and a willingness to try something new.
Start with the basics: create a repository, make some edits, push your changes. Build your confidence. As your team's needs grow, you'll naturally adopt more advanced features—branches, pull requests, automated workflows.
But for now, you have everything you need to bring your documentation into the modern era.
Welcome to docs-as-code.
Confidence moment: You've just completed a full docs-as-code workflow—edit, review, commit, publish—without using Git.
What's next? #
Want to go deeper? Here are logical next steps to enhance your documentation workflow:
-
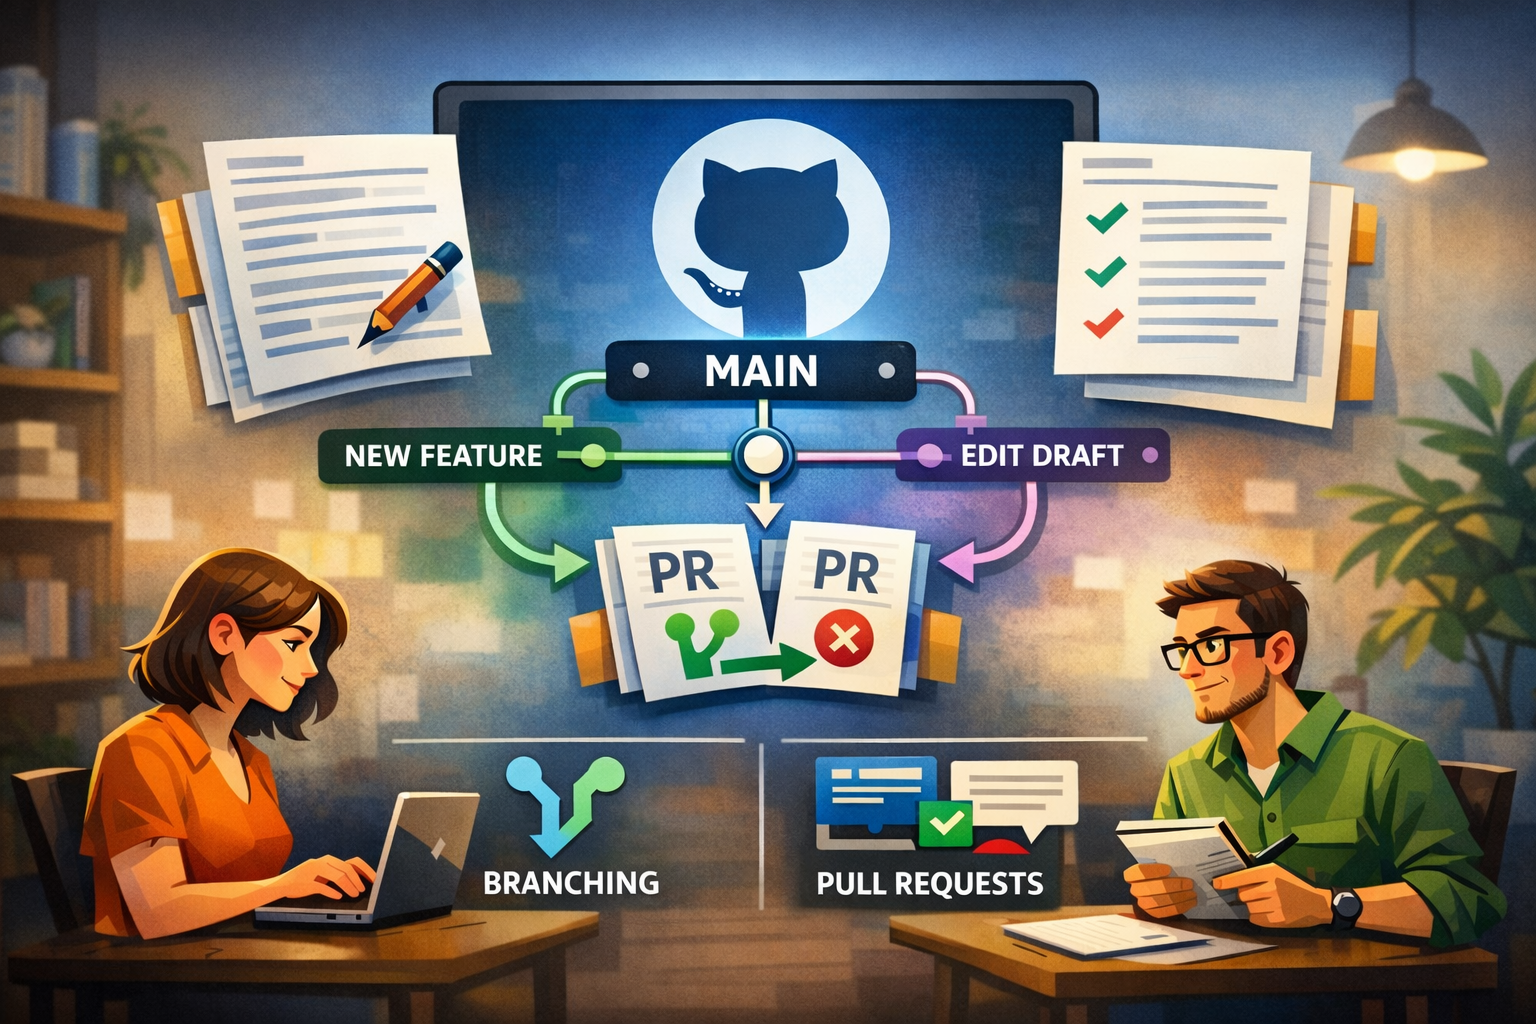
Learn branching
Work on documentation changes in isolation before merging them
Great for major updates or experiments -
Master pull requests
Build a formal review process for documentation
Get feedback before changes go live -
Automate publishing
Connect to platforms like Docusaurus or Vale
Create beautiful, searchable documentation sites -
Enhance quality
Set up automated checks for broken links and style
Enforce consistency with documentation linters
Integrate with your team's CI/CD pipeline
Each of these builds on the foundation you've learned. One step at a time, you'll build a documentation system that scales with your product and your team.
Remember: The future of technical documentation is version-controlled, collaborative, and deeply integrated with engineering workflows. You're now equipped to be part of that future.
The hardest part is starting. You've just done that.